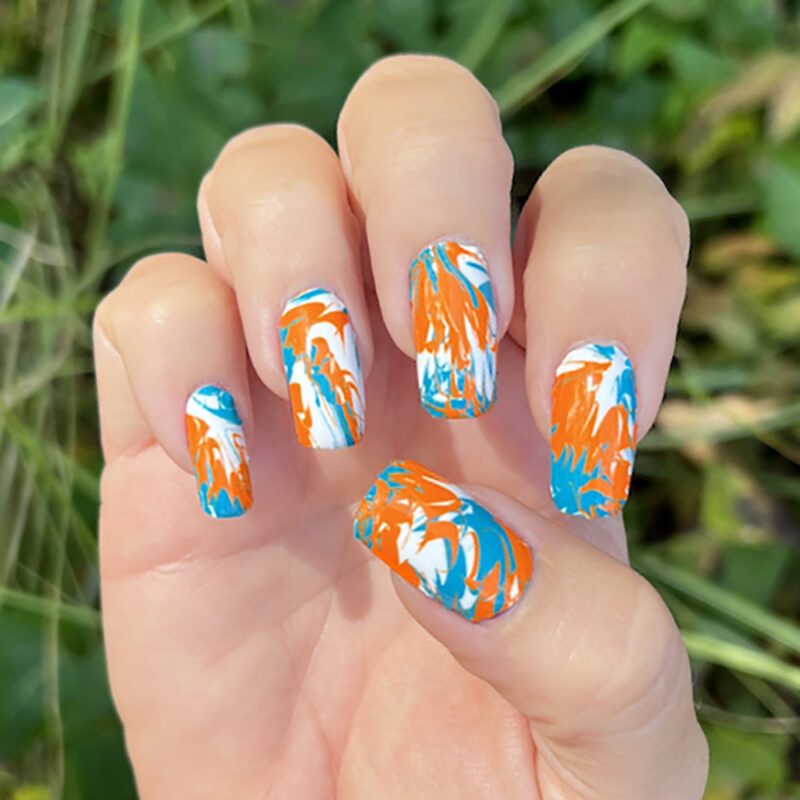
Hey beauty lovers! If you’re craving gorgeous nails fast—no polish, no UV lamp, no waiting—press-on nails might just be your new beauty BFF. These little lifesavers have come a long way since their drugstore-only days.
Today’s press-ons are chic, customizable, and can totally fool people into thinking you hit up a salon. Whether you’ve never worn fake nails before or you’re ready to master the press-on game, this guide will walk you through everything: what they are, how they work, how to apply and remove them, and how to keep them looking fierce.
What Are Press-On Nails?
Let’s start with the basics. Press-on nails are artificial nails that come pre-shaped and often pre-polished. They’re designed to be applied directly over your natural nails using either glue or adhesive tabs. No need for special tools or lights. Just press and go! They’re a quick, easy, and affordable way to change your nail look without a long-term commitment.
A Brief History of Press-On Nails
Press-on nails have been around since the ’70s and ’80s, when they were mainly used as quick-fix beauty products. Back then, the styles were limited and kind of, well… fake-looking. But fast forward to today, and the glow-up is real. With better materials, trendier designs, and more reliable adhesives, press-ons have officially entered the cool-girl beauty chat.
What Are Press-On Nails Made Of?
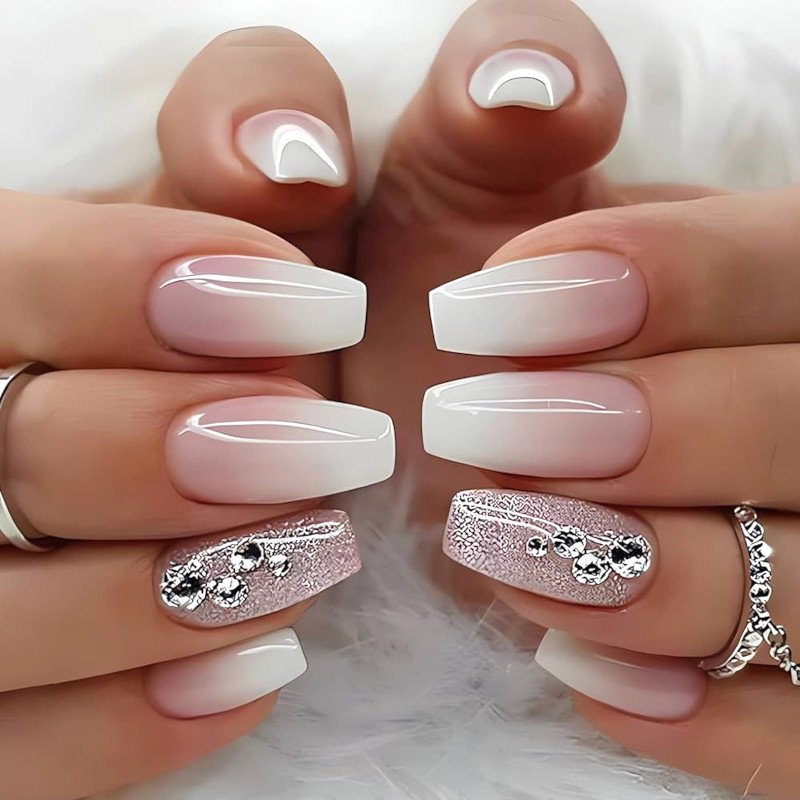
Most press-ons are made from plastic or resin, but don’t let that scare you off. High-quality brands use durable, lightweight materials that mimic the look and feel of real nails. Some even have a flexible fit to hug your nail beds better. The finishes vary too—glossy, matte, French tips, 3D designs—you name it!
There are two main types of press-ons:
- Glue-on nails: Longer-lasting and more secure, ideal if you want your nails to last over a week.
- Adhesive tab nails: Super beginner-friendly, perfect for short-term wear or event looks.
How to Apply Press-On Nails (Step-by-Step)
Application is key to getting that flawless, salon-level finish. It only takes a few minutes, but doing each step right makes all the difference.
Step 1: Prep Your Natural Nails
This step ensures your nails stay put and look natural.
- Wash your hands and dry thoroughly.
- Remove any nail polish.
- Push back cuticles gently.
- Lightly buff your nail surface with a nail file.
- Wipe each nail with rubbing alcohol or nail prep wipes.
Step 2: Choose the Right Sizes
Each pack comes with multiple sizes—find the one that fits each nail best.
- Match each press-on to your natural nail.
- If it’s between sizes, go smaller—not bigger—for a better seal.
Step 3: Apply Adhesive
Pick your method:
- Glue: Apply a small dot to both your natural nail and the back of the press-on. Don’t overdo it or it’ll ooze.
- Adhesive tabs: Peel and stick them directly to your natural nails.
Step 4: Press and Hold
Align the nail starting at the cuticle and press down firmly.
- Hold for 10–30 seconds to lock it in place.
- Avoid water or pressure for at least an hour after applying.
How to Wear and Maintain Press-On Nails
You’ve got the look—now here’s how to make it last. Even press-ons need a little love to stay fresh and flawless.
- Avoid soaking your hands for long periods.
- Use gloves while doing dishes or cleaning.
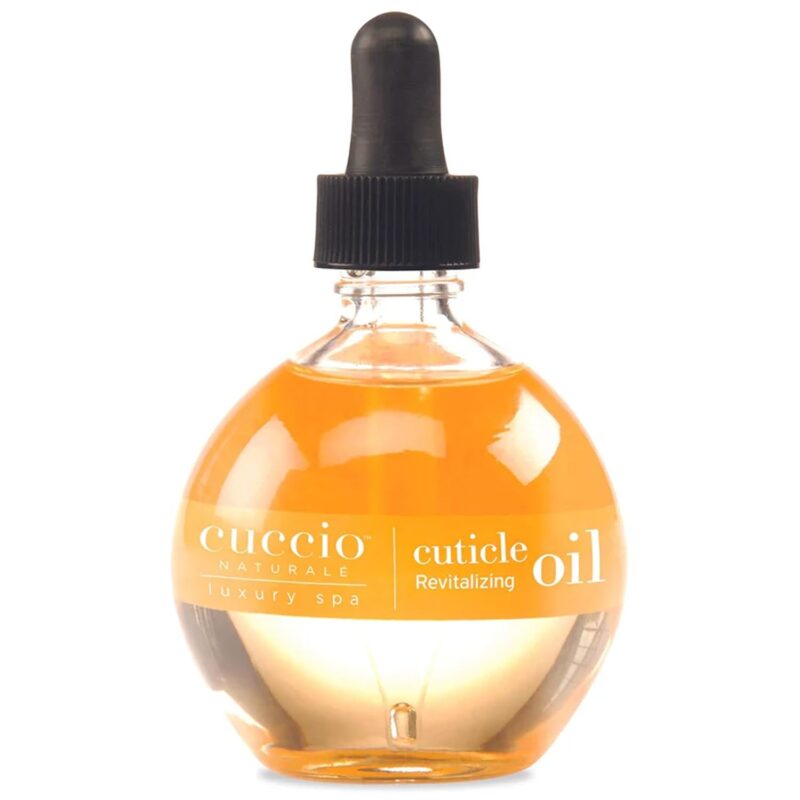
- Apply cuticle oil to keep your natural nails healthy underneath.
- Re-glue any nails that start to lift—don’t wait for them to pop off.
- Don’t use your nails as tools (no prying, poking, or peeling).
Depending on the adhesive and how well you care for them, press-ons can last anywhere from a few days to up to 10 days.
How to Remove Press-On Nails Safely
No tugging, no ripping. Let’s protect your natural nails with these gentle removal steps.
Step 1: Soak (If Using Glue)
- Soak your nails in warm, soapy water or a bowl of oil (like olive oil) for 10–15 minutes.
- This softens the glue and loosens the nails.
Step 2: Gently Lift
- Use a cuticle stick to gently wiggle under the press-on and lift from the sides.
- Never force it—re-soak if it’s stubborn.
Step 3: Clean Up
- Remove any leftover glue with a soft buffer.
- Wash hands and moisturize your nails and cuticles.
If you used adhesive tabs, just peel the nails off gently and clean your natural nail.
Are Press-On Nails Safe?
Totally—when used correctly. Press-ons are one of the least damaging fake nail options because they don’t require harsh chemicals or filing down your natural nail beds. They’re also a great alternative if you want glam nails without committing to gel or acrylics.
Safety tips:
- Don’t leave them on for more than 10 days straight.
- Always clean and prep your nails before applying.
- Give your nails a break between sets if possible.
Press-On Nails vs. Other Nail Types
Still debating your perfect mani match? Here’s how press-ons compare to the rest:
- Gel Nails: Long-lasting, super shiny, but require UV light and a longer removal process.
- Acrylic Nails: Great for length and structure, but take time and skill to apply.
- Dip Powder: Durable and colorful, but not as easy to remove.
Press-ons are perfect for anyone who wants cute nails in minutes—with way less hassle.
Why Choose Press-On Nails?
Press-on nails have made a major comeback, and for good reason:
- They’re fast and easy to apply.
- You can switch up your look as often as you like.
- No salon appointment required.
- No long-term damage to your natural nails.
- Tons of trendy designs available online and in stores.
Whether you’re switching styles every weekend or just need a quick fix before brunch, press-ons are your low-commitment glam go-to.
Final Thoughts
Press-on nails are the ultimate beauty hack—chic, convenient, and customizable to your mood. With just a little prep and care, you can rock a flawless set that looks like it came straight from a salon. And the best part? You’re totally in control of your look, your schedule, and your vibe.
So go ahead, snap on those stunners, show off your style, and feel fabulous—because your nails should be as flexible and fun as you are!