Hey beauty lovers! If you’ve ever admired those super glossy, chip-resistant nails and wondered how to get that salon-perfect look at home, gel nails might just be your new go-to.
Whether you’re a total newbie or looking to brush up on the basics, this guide breaks it all down: what gel nails are, their history, how to apply them like a pro, keep them looking fab, and remove them the right way.
Let’s get you glowing!
What Are Gel Nails?
Before we get into the how-to, let’s talk about what gel nails actually are. These aren’t just your average polish. Gel nails are created using a gel-based formula that requires curing under a UV or LED lamp. Once cured, each layer locks in place, creating a super durable and ultra-shiny finish. They can be applied to natural nails or used with extensions for added length and style versatility.
A Brief History of Gel Nails
Believe it or not, gel nails have been around for a few decades. They first made waves in the 1980s but didn’t gain massive popularity until the early 2000s, thanks to improved formulas and easier application methods. Back then, they were mostly used to add strength to natural nails. Now? They’re a full-blown trend, with thousands of colors and endless design possibilities.
What Are Gel Nails Made Of?
Understanding what goes into gel polish helps you use it more effectively. Gel polish contains ingredients that react under UV or LED light, allowing it to harden and stick to your nail. Unlike regular polish, which air dries, gel polish stays wet until it’s cured, giving you time to perfect each layer.
Types of gel products:
- Base coat: Grips the polish and protects the nail.
- Gel color polish: The pigment layer, applied like regular polish.
- Top coat: Locks in shine and seals the whole thing.
How to Apply Gel Nails (Step-by-Step)
Applying gel nails might sound intimidating, but once you get the hang of it, it’s actually super straightforward. Here’s a full walkthrough so you can confidently apply your own gel manicure from home like a total pro.
Step 1: Prep Your Natural Nails
This is the foundation of any good manicure. Clean, shaped nails make all the difference.
- Wash and dry your hands.
- Remove old polish.
- Push back cuticles gently.
- Trim and shape your nails.
- Buff the surface lightly to remove shine.
- Clean nails with rubbing alcohol or a nail cleanser.
Step 2: Apply Base Coat
A good base coat helps your polish stick better and prevents staining.
- Apply a thin, even layer of gel base coat.
- Avoid flooding the cuticles.
- Cure under a UV/LED lamp for 30–60 seconds (check your polish instructions).
Step 3: Apply Gel Color
This is where your personality shines through. Pick a color that matches your vibe!
- Apply a thin coat of gel color polish.
- Cure under the lamp.
- Repeat for a second (or third) coat for full opacity.
Step 4: Apply Top Coat
This step locks everything in and adds that signature gel shine.
- Add your gel top coat.
- Cure again.
- Wipe off any sticky residue with alcohol if your top coat isn’t no-wipe.
And that’s it — shiny, strong, and ready for selfies.
How to Wear and Maintain Gel Nails
You put in the work, now it’s time to keep those nails looking fresh. With just a bit of care, gel nails can stay flawless for weeks.
Your gel mani can last up to 2–3 weeks if you care for it right:
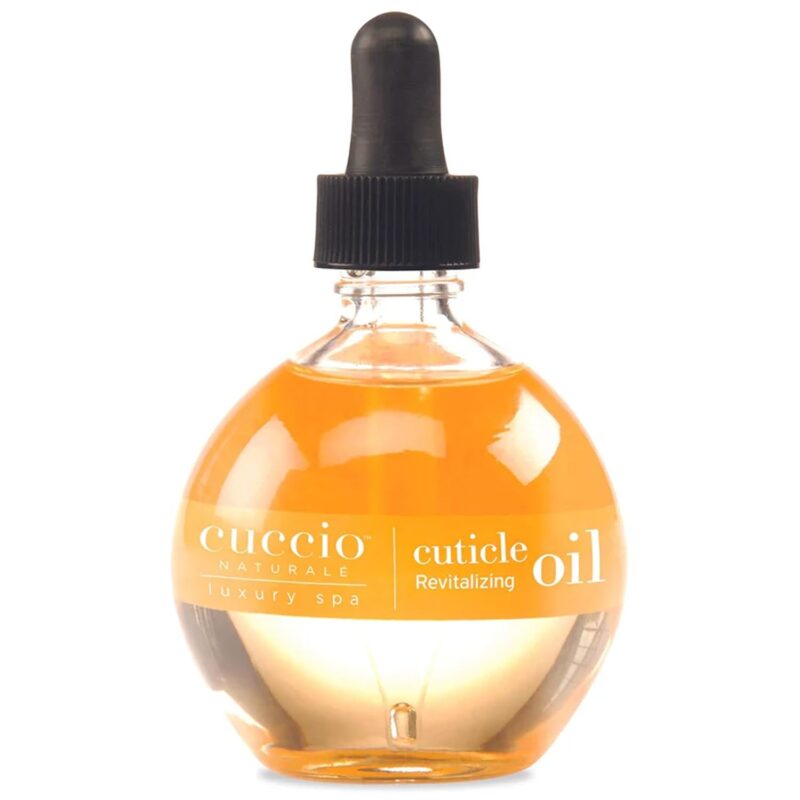
- Apply cuticle oil daily to keep everything hydrated.
- Wear gloves when cleaning or doing dishes.
- Avoid peeling or picking at the polish (resist the urge!).
- Touch up any chips right away to prevent lifting.
How to Remove Gel Nails Safely
Taking off gel polish the right way is crucial. Doing it incorrectly can lead to nail damage, but don’t worry — we’ve got the foolproof method right here.
Step 1: File the Top Layer
- Start by breaking the seal on the top coat so acetone can do its job.
- Gently buff the top coat to break the seal and allow acetone to penetrate.
Step 2: Soak in Acetone
- Soak a cotton ball in 100% acetone and place it on each nail.
- This loosens the gel layers for easy removal.
Step 3: Wrap in Foil
- Keep the acetone-soaked cotton in place while it works its magic.
- Wrap nails in foil and chill for 10–20 minutes.
Step 4: Remove Softened Gel
- Now the gel should be soft enough to come right off.
- Use a cuticle pusher or orangewood stick to slide off the gel.
- Buff off any leftover residue.
Step 5: Moisturize
- Wash hands.
- Apply cuticle oil and hand cream.
- Hydration is key after any removal process.
Are Gel Nails Safe?
Gel nails are safe when used properly, but there are a few things to keep in mind. It’s all about good habits and taking care of your natural nails.
Here are a few tips:
- Don’t over-buff your natural nails before application.
- Use acetone sparingly and moisturize afterward.
- Take breaks between sets to let your nails recover.
- Always follow the product instructions.
Gel Nails vs. Other Nail Types
Not sure if gel is the right choice for you? Here’s how it stacks up against other popular nail options. Each has its pros and cons, but gel nails hit a nice balance for many people.
- Acrylics: Stronger, longer, better for extensions but more rigid.
- Dip Powder: Powdered polish system, great for durability and pigment.
- Press-Ons: Quick and easy for temporary glam.
Gel nails are a sweet spot: flexible, long-lasting, and perfect for a polished, everyday look.
Why Choose Gel Nails?
Gel nails are perfect if you want salon-quality nails without the high maintenance. They look amazing and stay fresh with minimal effort.
If you want:
- A high-gloss, chip-resistant finish
- Minimal damage to natural nails
- A quicker salon (or at-home) process
- Custom colors and art that last
Gel nails are totally worth it.
Final Thoughts
Gel nails are a fab way to boost your confidence, express your personal style, and keep your hands looking flawless. Whether you go DIY or book a pro appointment, knowing the basics helps you get the most out of your mani.
So go ahead—pick your favorite color, get that top coat shining, and rock your next set with pride. Nail care is self-care, and gel nails make it easy to look polished no matter what your week throws at you.