Hey nail newbies and beauty buffs! If you’re craving strong, long-lasting nails with a sleek finish—and you’re not into the whole UV light or glue routine—dip powder nails might be your perfect match.
These trendy, colorful, and durable nails are somewhere between gel and acrylic, giving you the best of both worlds without too much fuss. Whether you’re learning to DIY your dip manicure or just want to understand the hype, this guide has everything you need.
What Are Dip Powder Nails?
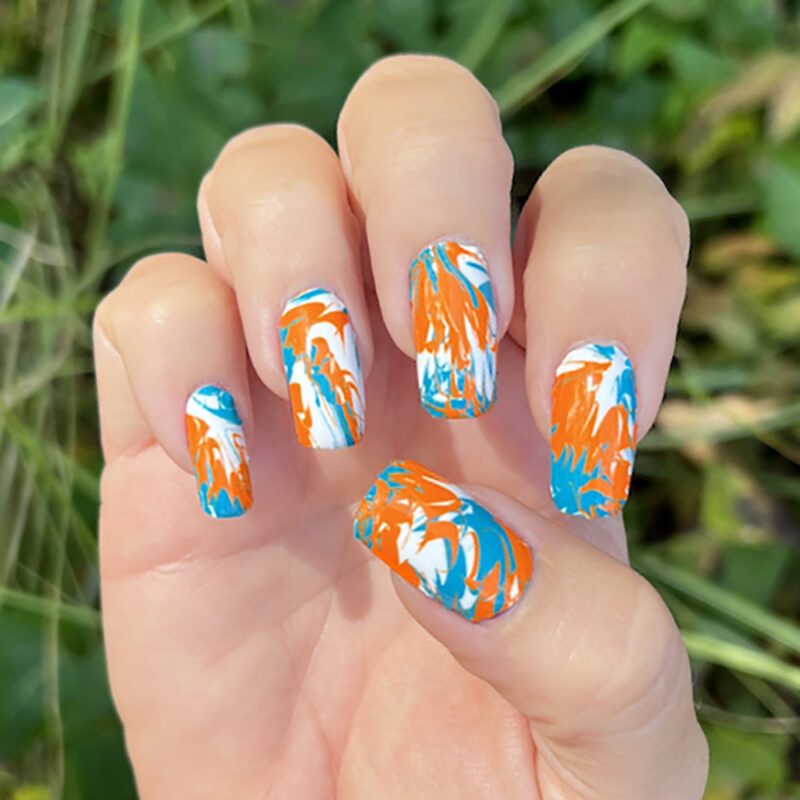
Dip powder nails are a nail enhancement technique that involves layering colored acrylic powder over a base coat. Instead of painting on polish, your nails are dipped (or brushed) into powder between layers of bonding resin. Once sealed with a top coat, the result is a hard, smooth, long-lasting nail with a vibrant color payoff. No UV light needed!
Dip nails are known for their strength, longevity, and quick drying time. You’ll often hear them praised for lasting up to 3-4 weeks without chipping.
A Quick History of Dip Nails
Dip nails have been around for a while, but they didn’t gain major popularity until the 2010s when nail salons began offering them as a durable, healthier alternative to acrylics. Originally marketed for their strength and odor-free application, dip systems are now a go-to option for clients who want stylish nails that last through travel, work, or everyday chaos.
What Are Dip Nails Made Of?
Dip nails use a simple system of products:
- Base coat (bonding resin): A glue-like liquid that helps powder stick.
- Colored acrylic powder: Finely milled powder in various shades.
- Activator: A liquid that hardens the resin and sets the powder.
- Top coat: A clear layer that adds shine and protection.
Optional tools include a nail buffer, cuticle pusher, and brush for powder application if you’re not dipping.
How to Apply Dip Powder Nails (Step-by-Step)
Doing your own dip nails might seem intimidating at first, but with practice, it becomes second nature. Here’s a beginner-friendly breakdown:
Step 1: Prep Your Nails
- Wash and dry your hands.
- Push back cuticles gently.
- Lightly buff the nail surface to remove shine.
- Wipe nails clean with alcohol or nail cleanser.
Step 2: Apply Base Coat
- Apply a thin layer of base coat to one nail at a time.
- Be precise—avoid getting it on cuticles.
Step 3: Dip into Powder
- Immediately dip your nail into the colored powder at a 45-degree angle.
- Tap off the excess gently.
- Repeat for each nail.
Step 4: Reapply and Repeat
- Apply a second coat of base.
- Dip into the powder again for more opacity.
- Tap off excess and let sit for a few seconds.
Step 5: Add Activator
- Once you’ve dipped all your nails twice, apply activator.
- Let it dry thoroughly (about 2 minutes).
Step 6: Shape and Buff
- File and shape your nails to your preferred style.
- Gently buff the top for smoothness.
Step 7: Final Coat
- Apply another layer of activator.
- Wait 30 seconds, then add top coat.
- Let it dry—and voilà! Salon-quality dip nails.
How to Maintain Dip Powder Nails
Dip nails are low-maintenance, but here’s how to stretch your mani even longer:
- Avoid picking or peeling the powder.
- Wear gloves while doing chores.
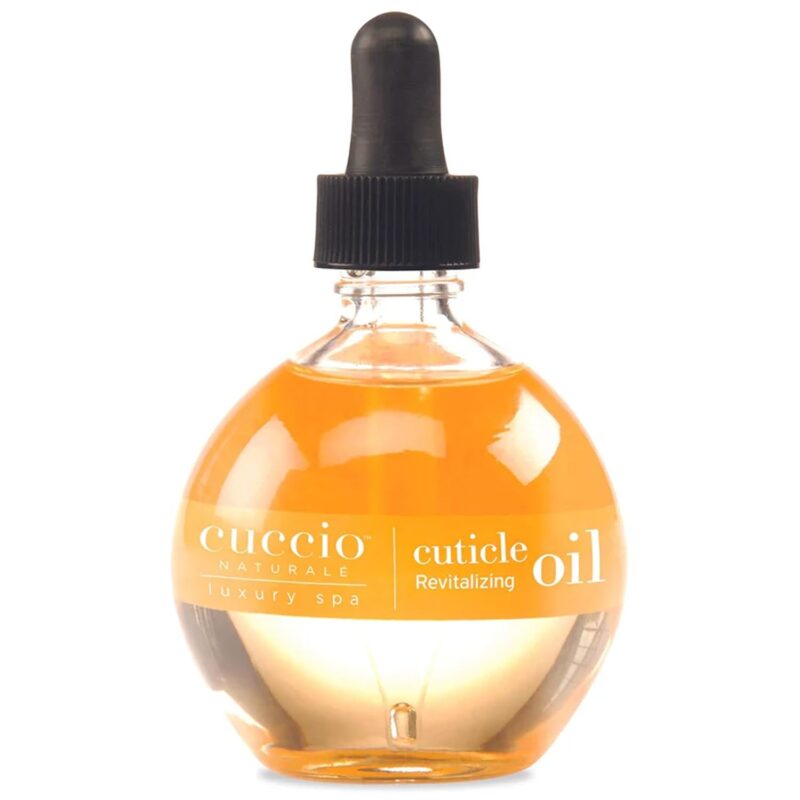
- Apply cuticle oil daily.
- File down edges if they chip slightly.
- Add a fresh layer of top coat after a week for shine.
Dip nails typically last about a month if properly cared for, and you’ll notice growth at the cuticle around week two.
How to Remove Dip Nails Safely
Removal is where most people get nervous, but it’s easy when done right.
Step 1: File the Top Layer
- Gently file or buff the shiny top coat to break the seal.
Step 2: Soak in Acetone
- Soak a cotton ball in pure acetone.
- Place it on the nail and wrap with foil.
- Let it soak for 15–20 minutes.
Step 3: Remove Gently
- Use a cuticle stick to push off softened dip powder.
- Don’t scrape—if it’s stubborn, rewrap and soak longer.
Step 4: Moisturize
- Wash hands and apply cuticle oil and hand cream.
- Give your nails a break between applications when possible.
Are Dip Nails Safe?
Dip nails are generally safe, especially if applied and removed properly. Since there’s no need for UV light, they’re a solid alternative for anyone avoiding gel.
Tips to stay safe:
- Use clean tools to avoid contamination.
- Avoid dipping multiple clients in the same jar at salons.
- Give your nails a breather between applications.
Dip Nails vs. Other Nail Types
Here’s how dip powder nails compare to the other big nail trends:
- Acrylics: Thicker and longer-lasting, but require more filing and maintenance.
- Gel Nails: Glossy and flexible but need UV curing.
- Wraps & Silk: Great for nail repair but less long-lasting.
- Press-Ons: Easy and affordable but not as durable.
Dip nails strike a balance between durability and ease of application. They’re great for people who want long-lasting results without the fuss.
Why Choose Dip Nails?
Dip nails are a win for so many reasons:
- Long-lasting (up to 4 weeks!).
- No need for UV light.
- Huge variety of colors.
- Great for nail strength.
- Smudge-free application.
If you want salon-quality nails that don’t chip in a day or require a lightbox, dip is the way to go.
Final Thoughts
Dip powder nails combine the best of acrylic strength and gel shine in one user-friendly package. They’re fun to apply, come in every color imaginable, and last through life’s chaos without breaking a sweat.
Whether you’re a DIY nail enthusiast or just want a low-maintenance mani that looks good for weeks, dip nails are your new bestie. Give them a try, and you might just find your forever nail routine.