Ever looked at a stunning set of nails and thought, “Okay, how do I get those?”
Whether you’re totally new to the world of acrylics or just want to understand what all the buzz is about, this guide’s got you covered.
We’re diving into everything — the history, the materials, how to apply them step by step, care tips, removal (without destroying your nails), and why acrylics might just be your new obsession.
Grab a snack, a comfy seat, and let’s get into it!
What Are Acrylic Nails?
Acrylic nails are basically little works of art built on your fingertips. They’re made by mixing a liquid (monomer) with a powder (polymer) to create a thick, moldable paste. This paste hardens when exposed to air and turns into a strong, solid extension for your natural nails.
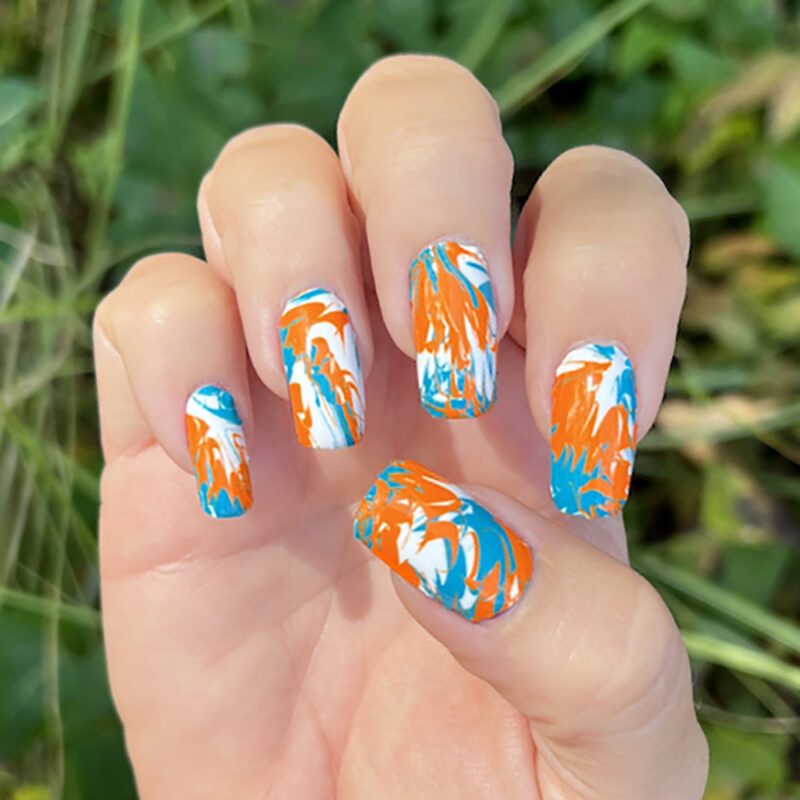
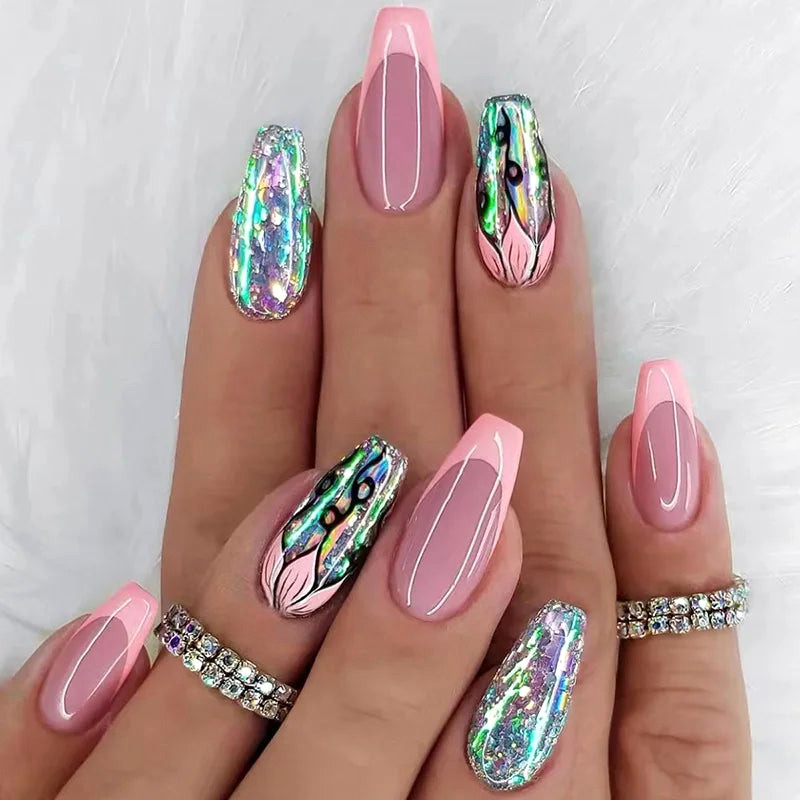
You can use acrylics to add length, strength, and a seriously polished look. Want square tips? Stiletto nails? Something super glam or soft and subtle? Acrylics can do it all.
A Brief History of Acrylic Nails
Nail enhancements have been around for ages — we’re talking ancient China and Egypt, where royalty would use materials like bone, ivory, or even gold to flex their status. Fast forward to the 1950s, and a dentist (yes, really) broke a nail and whipped up a fix using dental acrylic. That little DIY hack eventually led to the acrylic systems we know and love today. By the ’70s and ’80s, acrylics had hit the beauty mainstream — and they haven’t looked back since.
What Are Acrylic Nails Made Of?
Here’s your beginner chemistry moment:
Monomer: The liquid part. It smells strong, so open a window or work in a well-ventilated area.
Polymer: The powder part. It reacts with the monomer to form that shapeable magic paste.
Once combined, you get a little bead that you can shape right on your nail before it hardens. After it’s set, you file, buff, and polish it up — and boom, you’ve got fresh acrylics.
How to Apply Acrylic Nails (Step-by-Step)
This is the part where you become a DIY nail artist. Let’s break it all the way down:
Step 1: Prep Your Natural Nails
- Wash your hands (clean nails = happy nails).
- Take off any old polish.
- Gently push back cuticles — don’t cut them.
- Trim and file your natural nails.
- Lightly buff the surface to remove shine.
- Wipe with alcohol or nail cleanser to remove oil and dust.
Step 2: Apply Nail Tips (Optional but cute)
- Choose tips that match your nail width.
- Apply glue to the tip and press it on firmly.
- Hold for about 10 seconds until secure.
- Clip and shape the tip to your desired length and style.
Step 3: Mix the Acrylic
- Pour some monomer into a small dish.
- Dip your brush in the monomer, then into the powder to form a small bead.
- It should be smooth and not too runny or dry
Step 4: Apply the Acrylic
- Step 4: Apply the Acrylic
- Place the bead near your cuticle (but don’t touch the skin).
- Gently press and spread it down toward the tip.
- Apply in small sections: start near the cuticle, then middle, then tip.
- Repeat for each nail, taking your time to smooth and shape.
Step 5: Shape and Smooth
- Let them dry fully — they should feel firm and clicky.
- File the sides and tips to get your shape just right.
- Buff the tops until everything feels smooth and even.
- Step 6: Polish and Finish
- Dust off any debris.
- Add your base coat, polish color, and top coat.
- If using gel polish, cure under a UV/LED lamp.
How to Wear and Maintain Acrylic Nails
You’ve got your set — now let’s keep them looking fresh:
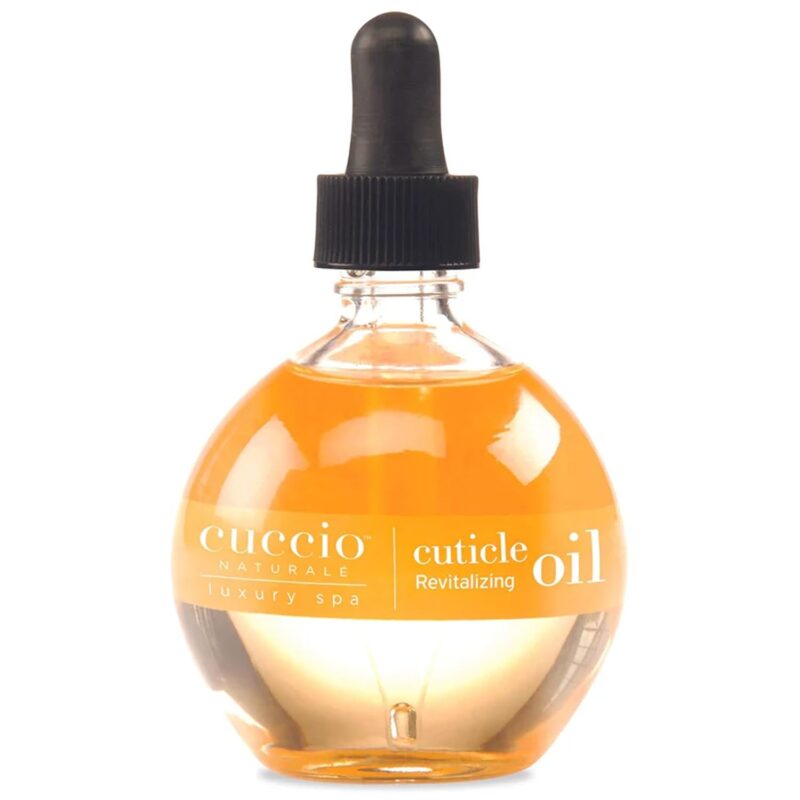
Cuticle oil is your BFF: Use it daily to keep nails and skin moisturized.
Treat them like jewelry, not tools: Don’t open soda cans or scrape off stickers with your nails.
Get regular fills: Every 2–3 weeks as your natural nails grow.
Gloves, always: Protect them when cleaning or doing dishes.
How to Remove Acrylic Nails Safely
No yanking allowed — let’s do it the gentle way:
Step 1: File Off the Topcoat
- Use a coarse nail file to remove the shiny polish layer.
Step 2: Soak in Acetone
- Soak cotton balls in 100% acetone.
- Place one on each nail.
Step 3: Wrap in Foil
- Wrap each finger in foil to hold the cotton in place.
- Chill for 20–30 minutes (perfect time for a podcast).
Step 4: Gently Remove Acrylic
- Use a cuticle pusher to scrape off softened acrylic.
- If it’s stubborn, rewrap and soak again.
Step 5: Moisturize Everything
- Buff away leftover bits.
- Slather on cuticle oil and hand cream.
Are Acrylic Nails Safe?
Totally — as long as you follow good practices:
- Always work in a well-ventilated space.
- Make sure your products are MMA-free (that stuff is old-school and damaging).
- Watch for lifting or water getting trapped — it can lead to bacteria.
- Give your nails a break now and then to breathe and strengthen.
Acrylic Nails vs. Other Nail Types
Here’s the lowdown:
- Gel Nails: Flexible, natural-looking shine, but not as tough as acrylics.
- Dip Powder: Great for quick strength and color, but not as customizable in shape.
- Press-Ons: Quick and easy, but short-term and more fragile.
- If you’re into long-lasting, sculptable, and fully personalized looks, acrylics are where it’s at.
Why Choose Acrylic Nails?
Still on the fence? Acrylics are perfect if you want:
- Strength for days: These babies don’t break easily.
- Custom vibes: Pick your length, shape, color — all of it.
- Style options galore: Nude, neon, chrome, matte — yes to everything.
- Nail rehab: They can protect fragile nails and stop you from biting.
Final Thoughts
Acrylic nails are more than just a beauty trend — they’re a form of self-expression and a way to treat yourself. Whether you’re going full DIY or heading to the salon, knowing the basics gives you more confidence and better results.
Be patient, practice, and have fun with it. Your nails, your rules.
Here’s to flawless sets, fresh designs, and nails that make you feel unstoppable!